
This week I had a hard time choosing which craft I wanted to make. There were quite a few good choices...
Thought about Bottle Beauty... what a great way to re-use bottles you were going to recycle. But then I realized I didn't have any bottles from my recycling this week... and BUYING one would kinda defeat the purpose of re-using/recycling.
Then I contemplated the Tea Towels... but I'd already made something similar recently and I am trying to make something different each week (which is why the Pillowcase Bag was out... a little too like my t-shirt bags from last week.)
I even thought about making the Gardener's Apron, but decided against it due to all the comments about using the thing and poking yourself in the gut with all your sharp gardening tools. Didn't sound as tempting after that...
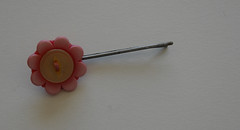
So, instead, I chose the Button Hair Clips. Yes, I realize they don't seem that challenging...but they are just so darn cute! How could I pass them up?
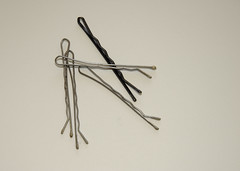
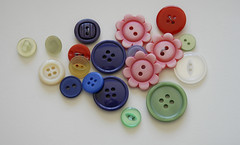
Your Supplies: Bobby Pins, Random (& Cute) Buttons, and misc. cardstock/scissors/stamps to make the pin holder.

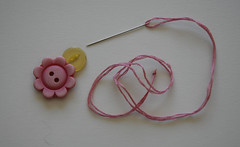
This was a fun craft to make, but you need a little bit of patience when it comes to actually getting that button on your bobby pin.
Tip: When you start, tie a solid knot with your needle and thread on your bobby pin before you even attempt putting the button on. This will make continuing to sew the button on, so much easier... it makes a good base.
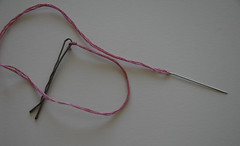

And when you are sewing the button on, make sure to loop the thread around one side of the bobby pin each time you go through a button hole (see above right). After that, you can tie it off and you're finished! But if you want to put on two buttons (like mine), just sew a second button on top of the first, making sure to go through the bottom and top button holes each time and still looping the thread through one side of the bobby pin.
Tip: Here's what I would do to make sure that the buttons and thread stay in place and don't slide off the bobby pin: nail glue. Yes, get out those old Lee Press-On Nails and use that glue to secure your hard work.
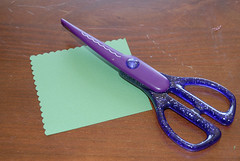
Now for the cute backing...which was my favorite thing to make! Cut up scraps of cardstock in pretty colors using fancy edging scissors.

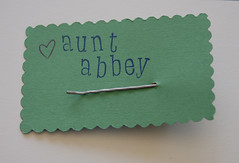
Stamp the recipient's name on the top, slide the pin through and you are completely finished. Now you're ready to give away your crafty gifts to friends and family.

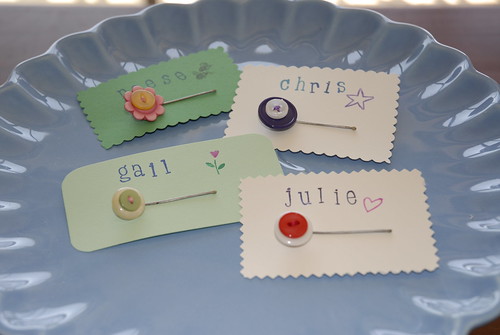
One final thought: I think the best thing about this project was the fact that I didn't have to go out and buy anything. Everything I used I had sitting around my house - which means you probably have it, too!
*Update on Tshirt Bags: I tested them out at the grocery on Monday... due to their stretch, I would suggest either keeping them filled with the lighter stuff from your grocery trip or saving them for your mall clothes shopping.
They work great and I've gotten so many compliments/thumbs up for bringing my own bag, but for heavy duty grocery days, maybe look into something like the Chico Bag. It's about the same size as a normal plastic grocery bag, but even sturdier. And you can't complain about the size... it's tiny! You can fit 5 or 6 in your purse... I even keep one on my keychain.
I think Martha would dub this a Good Thing.


1 comment:
How spiffy! I don't think I'd have the patience for these, but they definitely did turn out cute.
Post a Comment