
I am always very excited to get my Craft of the Day email from Martha and her creative associates. But my friend Chris says she gets frustrated with the crafts because they always turn out harder than they say they'll be.
So... I've decided to do a weekly post where I make one of the seven crafts from the previous week and tell you the ups and downs, the good and the bad. (I'll even take requests if you've seen one and want to make it, but are a little hesitant to give it a go.)
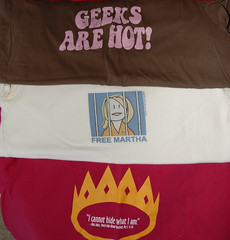
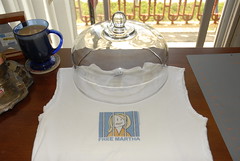
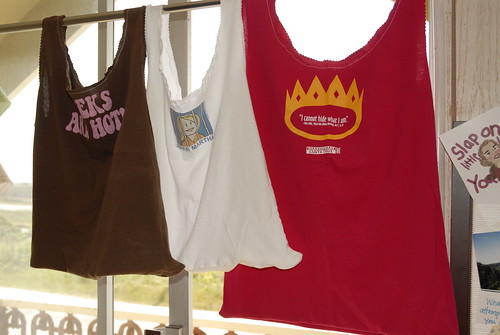
Today I made a couple of the Tshirt Bags...which was one of Martha's Green Crafts that I talked about last week. My main reason for choosing this project was because of my new Green To-Do List that I made for myself on Earth Day. It's crazy how long it takes for plastic bags to degrade...if they degrade at all...so making this one seemed a perfect choice.
This particular project was actually quite easy. I read the instructions and briefly watched the video as well. (I'm much more of a visual learner - thank goodness for video instructions!) But after that I pretty much just grabbed a pair of scissors and plopped myself down at my sewing machine. And speaking of sewing machines...I would use one and not hand sew as was suggested if you don't own a sewing machine. You need these bags to be strong so you don't lose your groceries in the middle of the road.
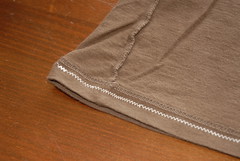
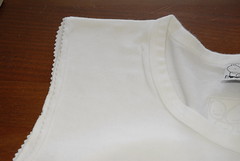
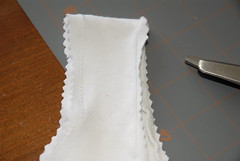
You can literally follow the instructions word for word and you will end up with a fantastic eco-friendly grocery bag. But let me give you one piece of advice that they give in the video, but not in the written instructions...once you've cut the neck out, I would sew a seam of some sort around it in order to give the bag a little more stability. You can do a zig-zag or just a straight seam (which is what I did)...either one works and will make you feel a little more confident when using your final product.


And don't forget...if you have a craft that you want me to try out, leave a comment and I will do it for the upcoming week!


7 comments:
Thanks for trying these! They looked intriguing, but I have to agree with your friend Chris--sometimes the projects aren't quite as they appear. Glad to know I can put some old t-shirts to better use than old rags. :)
those are awesome!!
I need to try to find some t-shirts with pugs or boston terriers on them and give this a try. :)
Those are SOOO cool! Great job!
I've always loved t-shirt bags and was thrilled to see the instructions in my email the other day. I thought they might benefit from some lining, though.
I'm planning to take some of my daughter's t-shirts (she's four) and making purses.
These are good things. I'm so proud of you!
What a great idea for grocery bags! You're right that they'd probably need to be reinforced a bit, but I love this as an option for keeping all those old shirts I have a sentimental attachment to but don't necessarily want to sport around town.
Robin - you are SO right about a lining! That would help a lot! I may give that a try on my next round of bags.
Joobie - So true about using tshirts that have sentimental attachment. The ones I used are that for me...clearly! : ) I loved all of these tees and could not bare to part with them!! So glad I never did.
Post a Comment